Download MySQL on EC2 instance
Download MySQL on EC2 instance
-
Run the following commands to download MySQL on the instance:
sudo yum install -y https://dev.mysql.com/get/mysql57-community-release-el7-11.noarch.rpmsudo rpm --import https://repo.mysql.com/RPM-GPG-KEY-mysql-2022sudo yum install -y mysql-community-client
-
Connect to RDS database:
- Run command mysql -h -u -p (
mysql -h database-1.cbk6is6oozuw.ap-southeast-1.rds.amazonaws.com -u admin -p) - Then enter password
12345678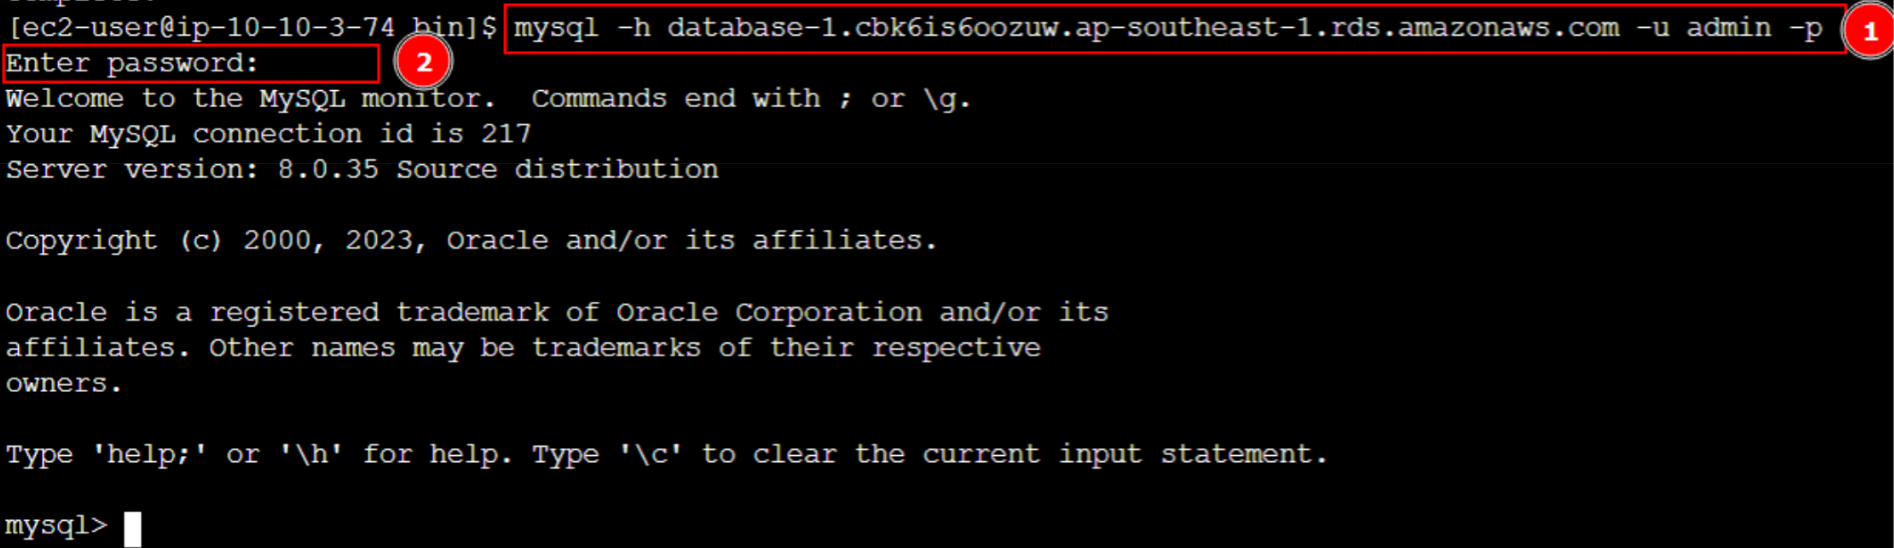
- Run command mysql -h -u -p (
-
Run
create database librarydb;to create a new db
-
Run
show database;to show existing dbs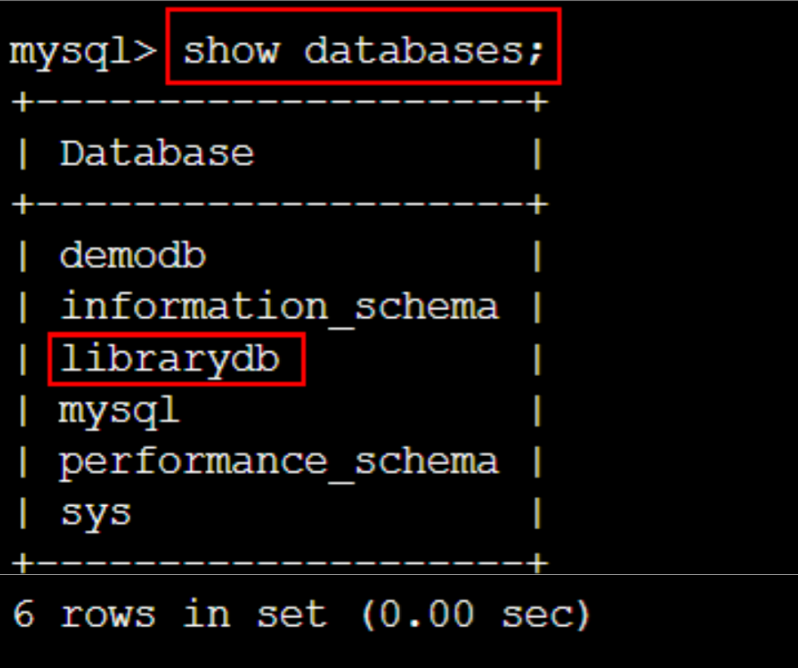
-
Run
use librarydb;to use the newly created db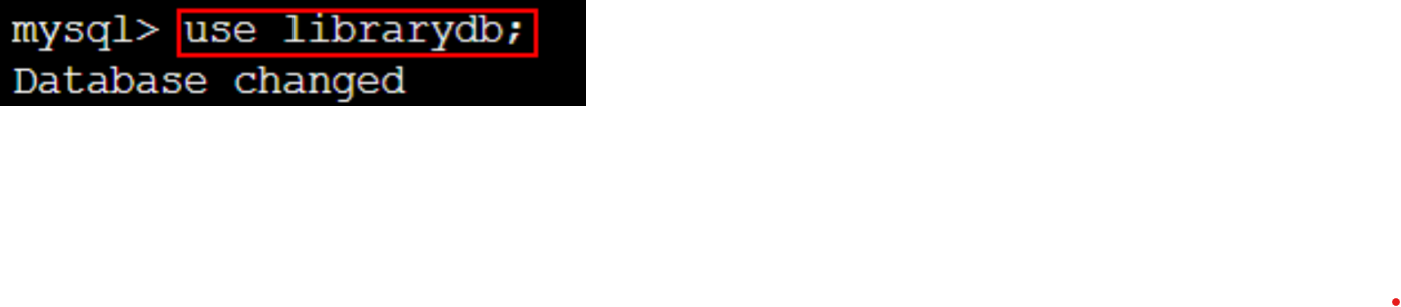
-
Run
show tables;to show tables in the db, at this time the db has no tables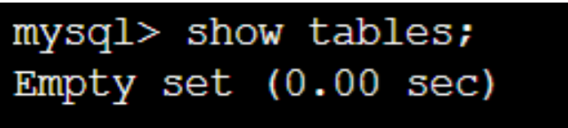
-
To create tables for the db, go to the application.properties file of the back-end and reconfigure the information as shown below

-
Then we will run the app. After the app runs successfully, run the
show tables;command again to check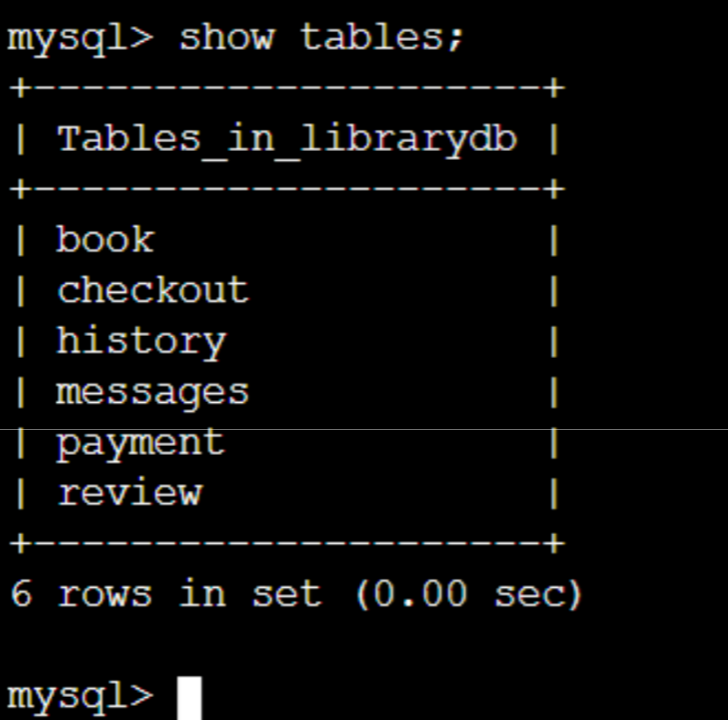
-
Run the command insert into librarydb.book (author, category, copies, copies_available, description, img, title) values (‘John’, ‘Programming’, 10, 8, ‘Tutorial about Java’, ‘’, ‘Java Advanced’); to add a row of data to the book table

-
Run
select * from librarydb.book;to show the rows of data in the book table
The above steps are just to test that the db works well according to the queries we have written. But in this workshop, we will use the database first approach, meaning we will create the db first and then create entities and repositories in the app to map with the db.
- Open MySQL, access the created connection and import the
React-Springboot-Add-Tables-Script-1.sqlfile in thestarter-filesfolder, then run the available scripts to create the db named librarydb and the tables in the db