Deploy fullstack app with three-tier architecture > Create External Load Balancer and Auto Scaling Group > Create Auto Scaling Group
Create Auto Scaling Group
Create Auto Scaling Group
-
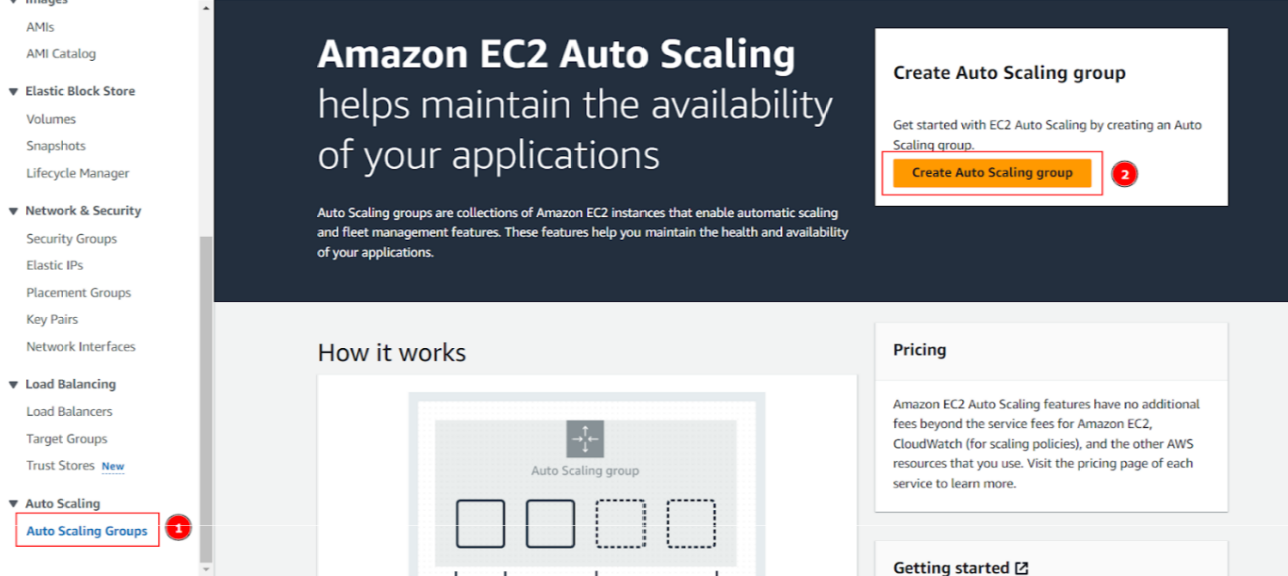
In interfatce of EC2, choose Auto scaling group at sidebar, then click Create auto scaling group.
-
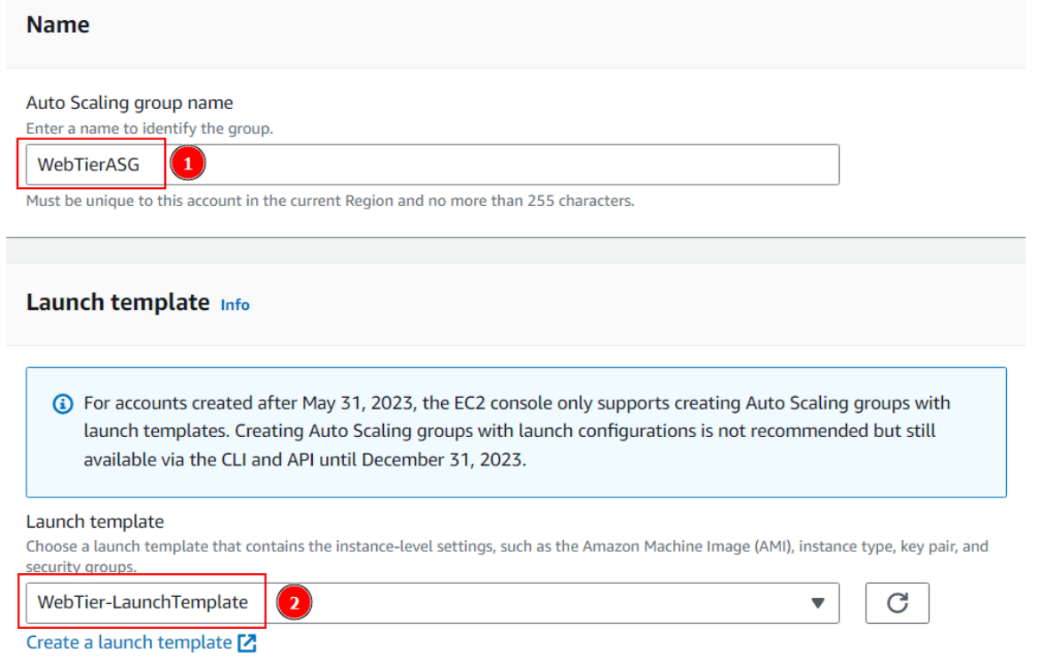
In the interface of creating ASG:
- Name fill in
WebTierASG - Launch template choose WebTier-LaunchTemplate
- Scroll downw and click Next
- Name fill in
-
In the interface of configuring Network:
- VPC: my-vpc
- AZs and subnets choose Public Subnet 1 and Public Subnet 2
- Click Next

-
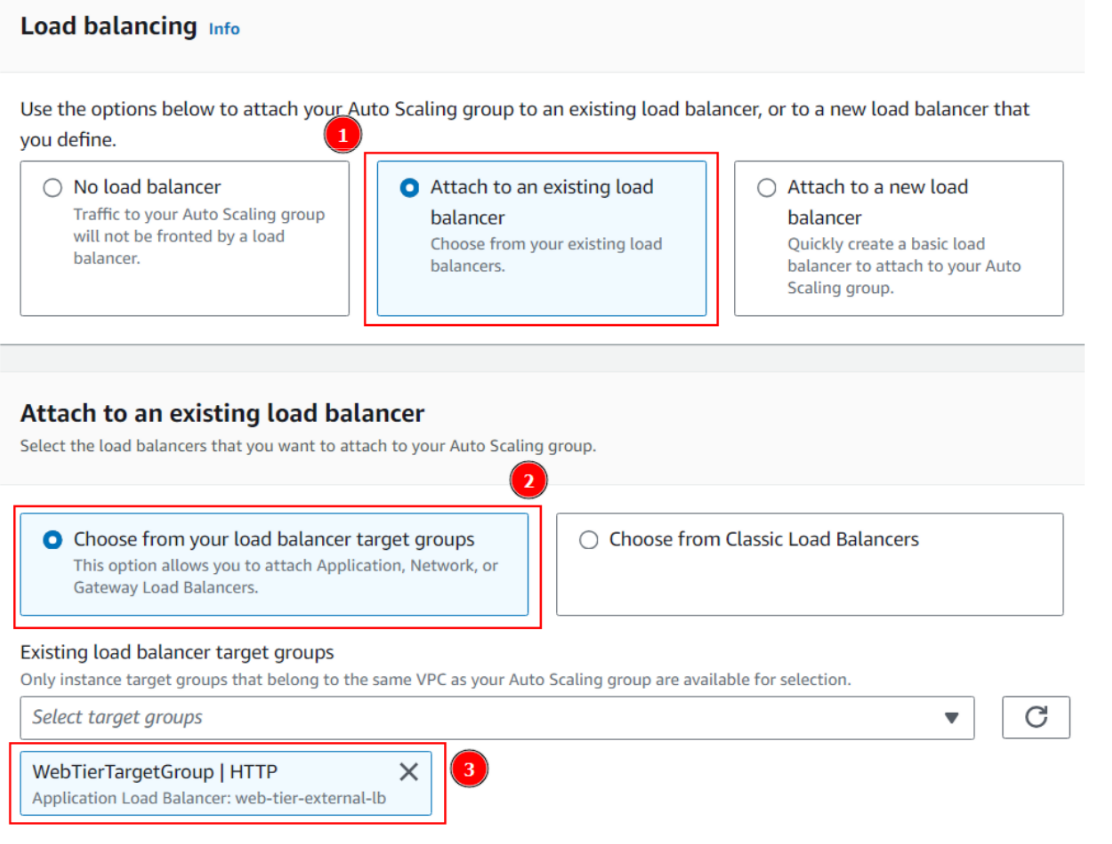
In the next configuration interface:
- Load balancing choose Attach to an existing load balancer
- Choose Choose from your load balancer target group then choose WebTierTargetGroup
- Scroll downw and click Next
-
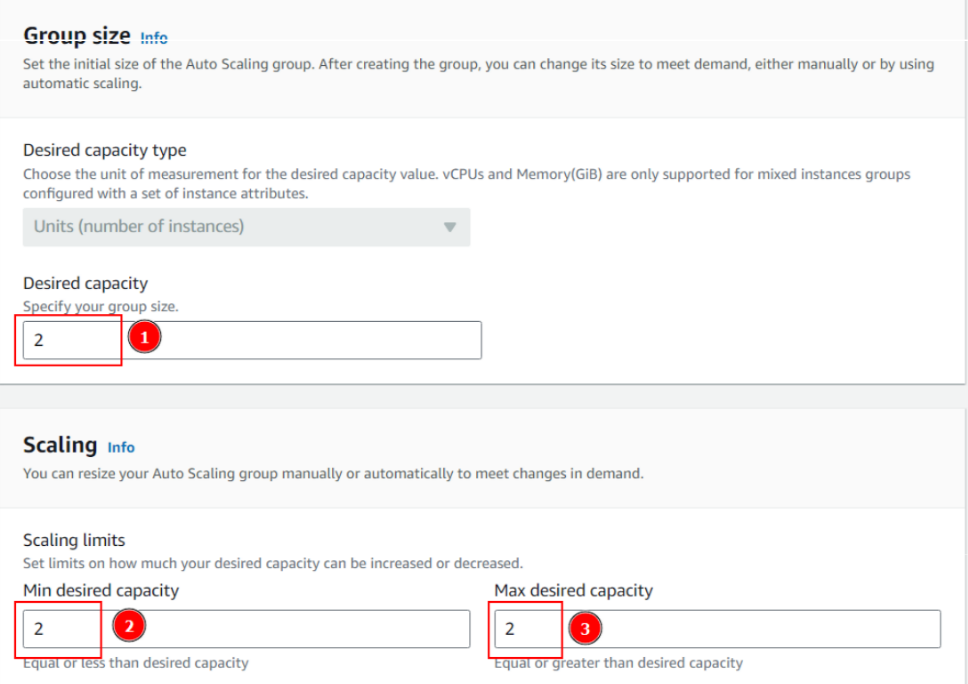
In the next configuration interface:
- Desired capacity: 2
- Min desired capacity: 2
- Max desired capacity: 2
- Scroll downw and click Next
- Next to the last step then click Create auto scaling group
-
Finish creating ASG:
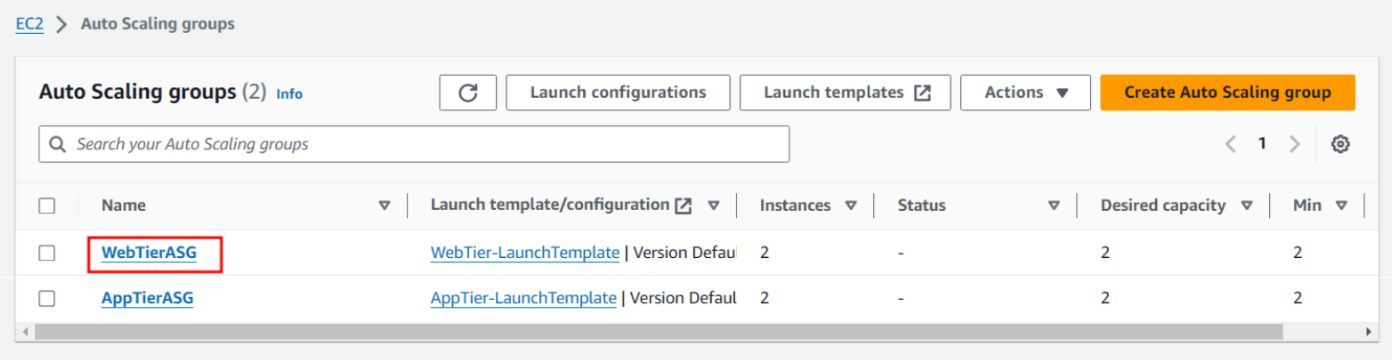
-
After creating ASG successfully, 2 new ec2 instances will be created:
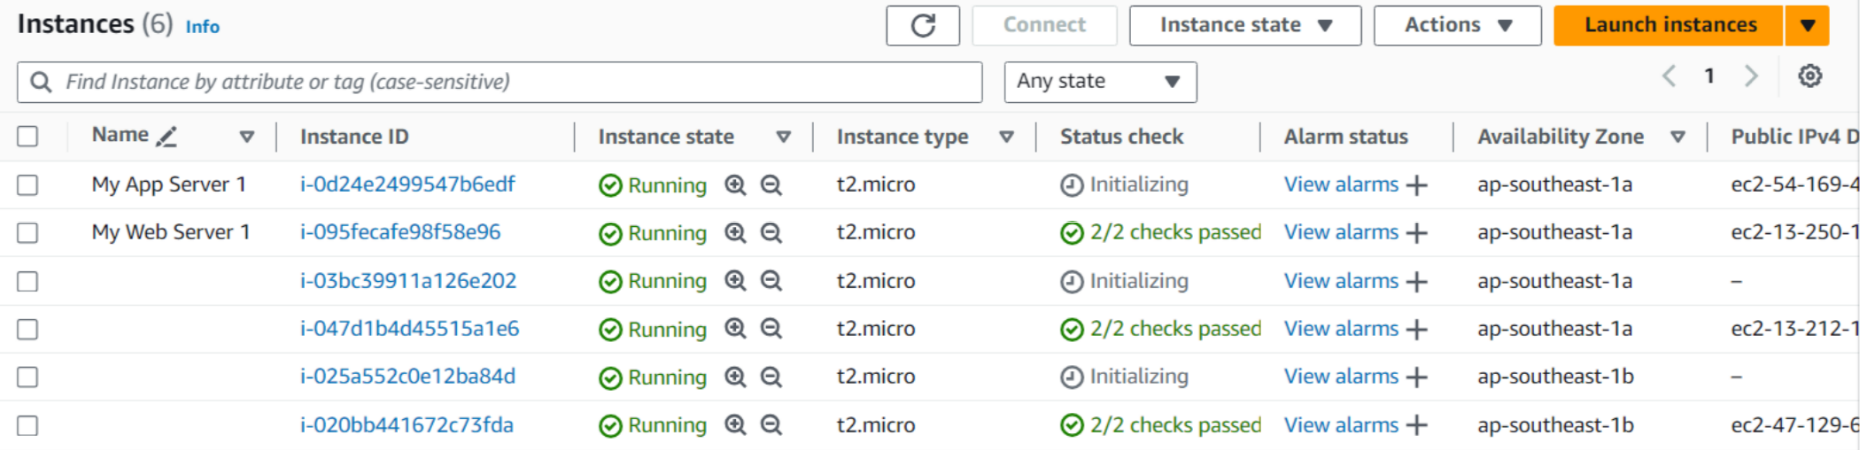
-
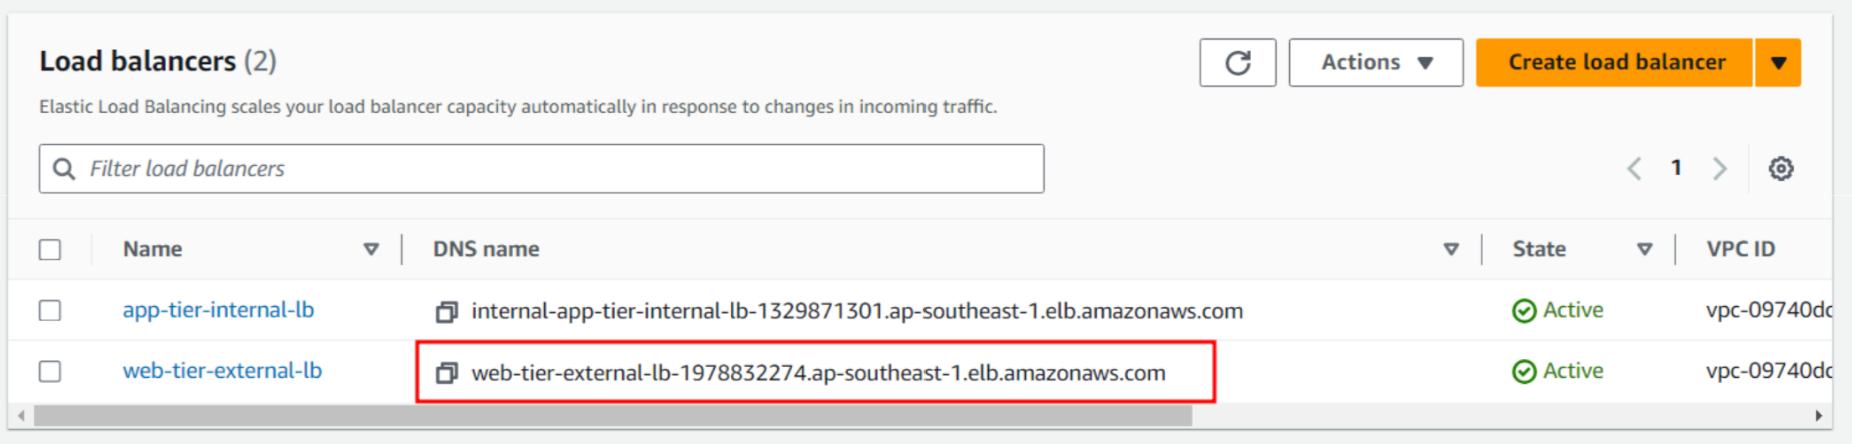
Now we can open web by DNS name of web-tier-external-lb